How to service your CYCLINGCERAMIC Jockey Wheels
It’s common knowledge a Ferrari is requires a little more upkeep than your average Toyota. And while standard pulley wheels are absolutely functionable and reliable, if you want that extra dose of #freespeed, you’re going to have to give it that extra dose of love.
Here are our recommendations to keep your ceramic bearing jockey wheels spinning like the day they came out of the box. These maintenance instructions apply to both standard (11t) and oversized (16t) CYCLINGCERAMIC pulley wheels with ceramic bearings.
*Please note that these are general maintenance guidelines and will vary depending on your usual riding conditions. Jockey wheel lifespan and performance is also directly impacted by the wear of your chain, so ensure your chain is regularly cleaned, greased and replaced before it’s hanging off your chainrings.


General maintenance
To be carried out every few weeks, or whenever you’ve been out in the rain or cleaned your bike. We’re essentially aiming to get rid of any humidity that might cause damage.
- Using a soft cloth, pinch each visible part of the jockey wheels lightly between your fingers, allowing enough leeway for it to turn, and manually rotate the crank to remove any dirt and grease.
- Give your derailleur cage and jockey wheels a good dry, and spray the nooks and crannies with a Teflon-based lubricant. You can also lightly blow air over the parts to chase away any lingering humidity.
Note: WD-40 is not recommended as it can damage parts. Also avoid any high-pressure water/air hose that could inadvertently force dust or sand into the bearing.
Full service
At least twice a year, or if you’ve been riding in really grotty conditions, you’re going to have to get your mechanic hat on. This is also a good opportunity to check the wear and tear of all drivetrain components, in particular your chain.
If you’re not comfortable with the idea of pulling your derailleur cage apart, pop along to your LBS to get the job done!
- Remove the rear wheel for better access. Using the appropriate Allen keys, remove the two screws holding the jockey wheels in the derailleur cage, and remove the jockey wheels. Set the inner derailleur plate and screws aside.
- If you have a Shimano model, gently remove the black caps from either side of each bearing using a slim, blunt tool (or your fingernails).
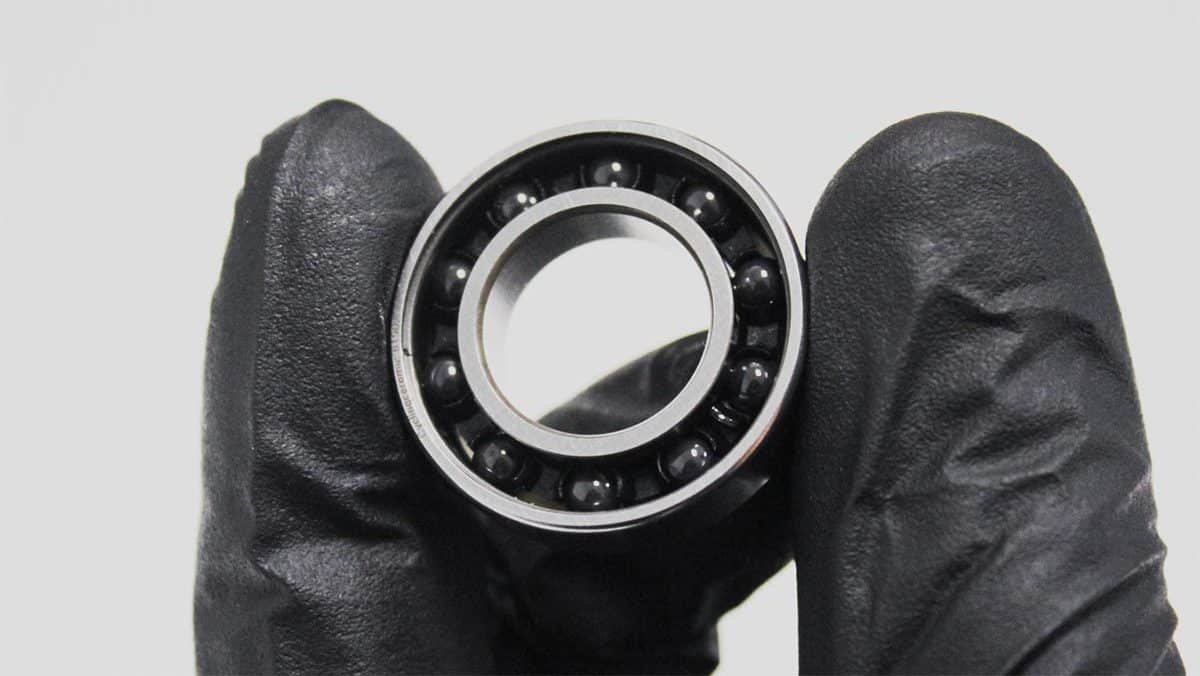
- Check the bearings and seals: if they’re in good nick and spin well you can skip the next step and go straight to cleaning. If they look rusty, crusty or catch at all, get ready to hand out some bike-specific TLC:
- With a very small screwdriver and a bit of patience, DELICATELY and CAREFULLY work your way around each blue seal, lifting it away from the bearing. Think of it as your grandmother’s crystal.
- Put everything in a shallow dish of degreaser to get rid of any muck. Some swirling and possible toothbrush rubbing may be required.
- Gently dry all the parts.
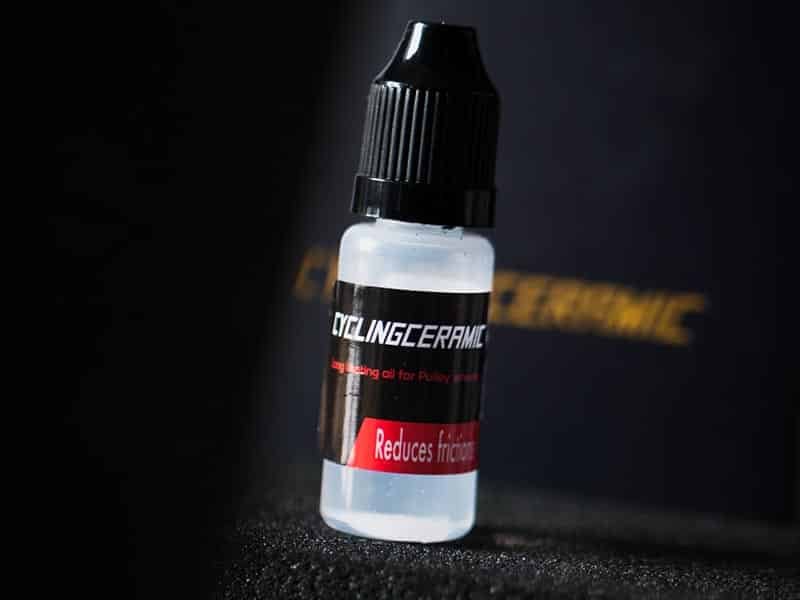
- Put a couple of drops of specific lubricant over the bearing balls and replace the seals, pressing them firmly into place. For Shimano models, put the black caps back in position, making sure they’re flush and aligned to avoid any unwanted friction.
Reinstall the jockey wheels and inner derailleur plate and tighten the screws carefully. Make sure you mount the jockey wheels in the right position in the derailleur cage (up for top, low for bottom) with the print towards the outside. Pop your rear wheel back in, and you’re ready to go!
Tips
If your chain needs replaced, mount the new one once your jockey wheels are reinstalled, it’ll make your life easier. If you haven’t removed your chain, don’t forget to loop it correctly through the jockey wheels as you remount them, or you’ll have to start over / look a bit stupid. Don’t worry, it’s happened to us too.
Any questions, shoot us a line!


