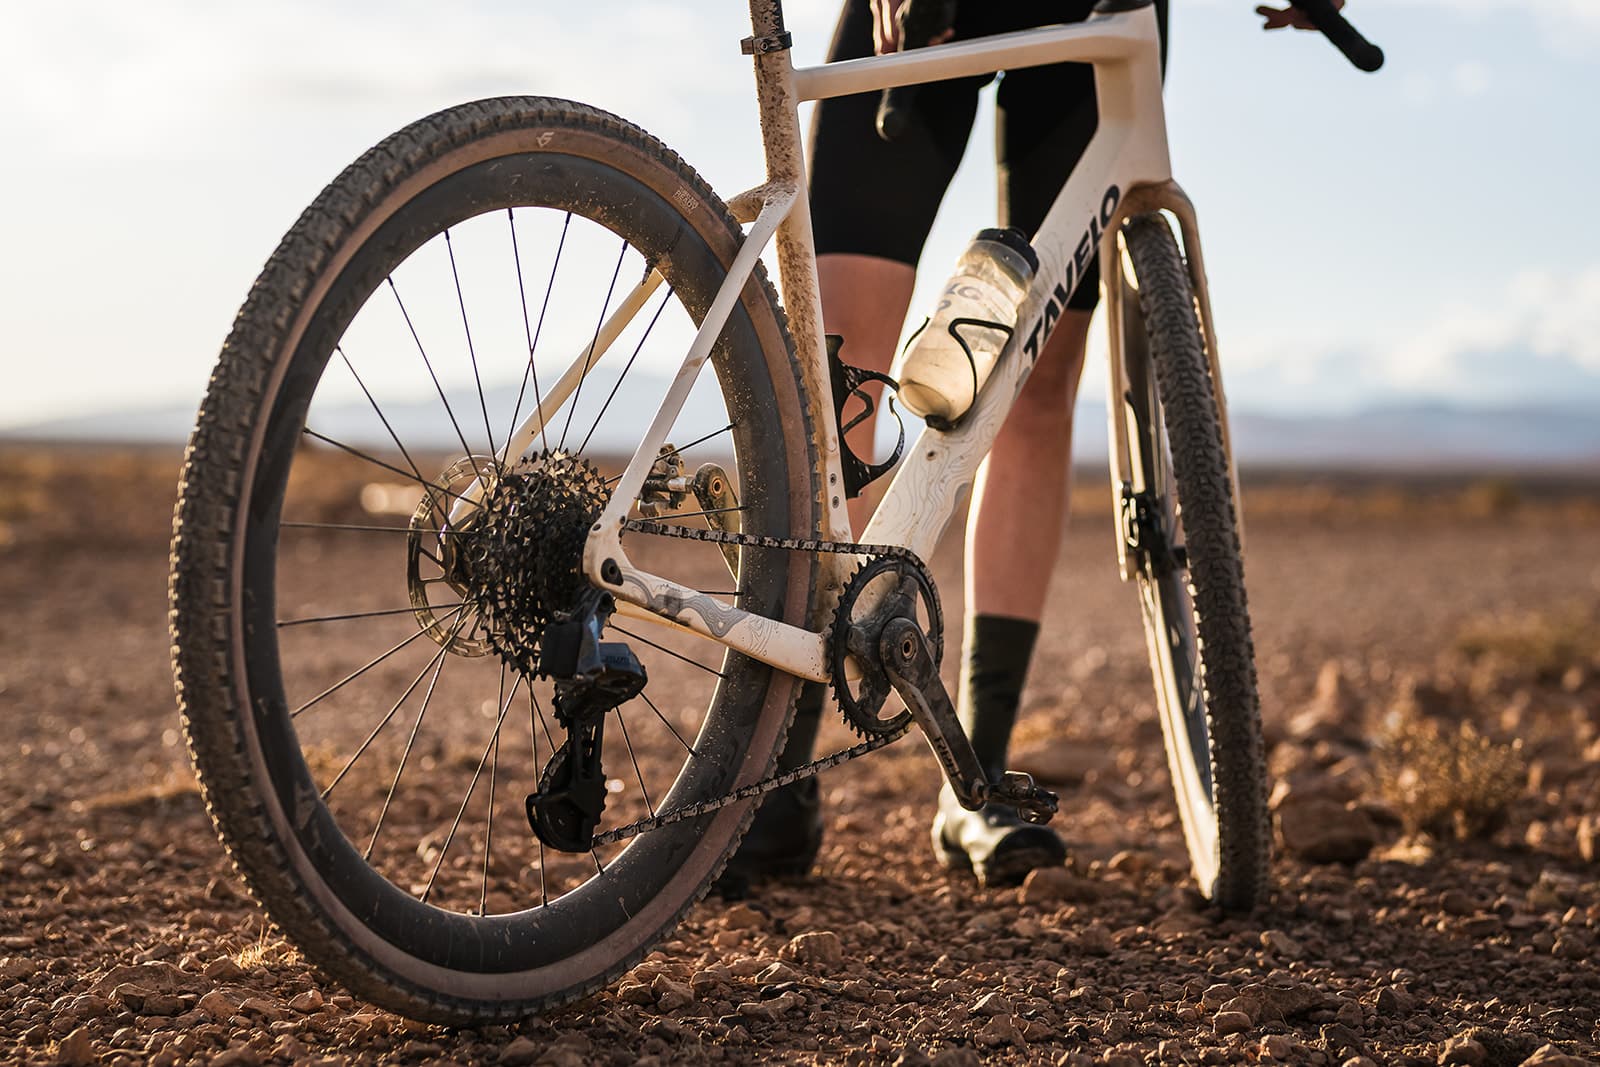
“Wheel upgrade” usually gets sold as one thing: a shiny new carbon wheelset. That is the most expensive answer, and for a lot of riders the wrong one. A wheel is a system with four places you can actually improve it: the wheelset itself, the tires, the hubs, and the bearings inside those hubs.
Each option costs a different amount and returns a different gain. A new wheelset changes weight, stiffness, and aerodynamics at once, but it is the most expensive step. Tires are the cheapest meaningful change. And the most overlooked path, the one almost no buying guide talks about honestly, is upgrading the bearings inside the wheels you already own. Independent lab data shows that path is real: 2.6W versus 5.5W, a 53% reduction in bearing drag, with no new wheelset required.
This guide maps the full decision landscape so you can spend in the right order for your budget, instead of defaulting to the most expensive option because it is the one every shop wants to sell you.
The Four Ways to Upgrade a Wheel
Before comparing prices, separate the four upgrade paths. They are not interchangeable, and they do not return the same thing.
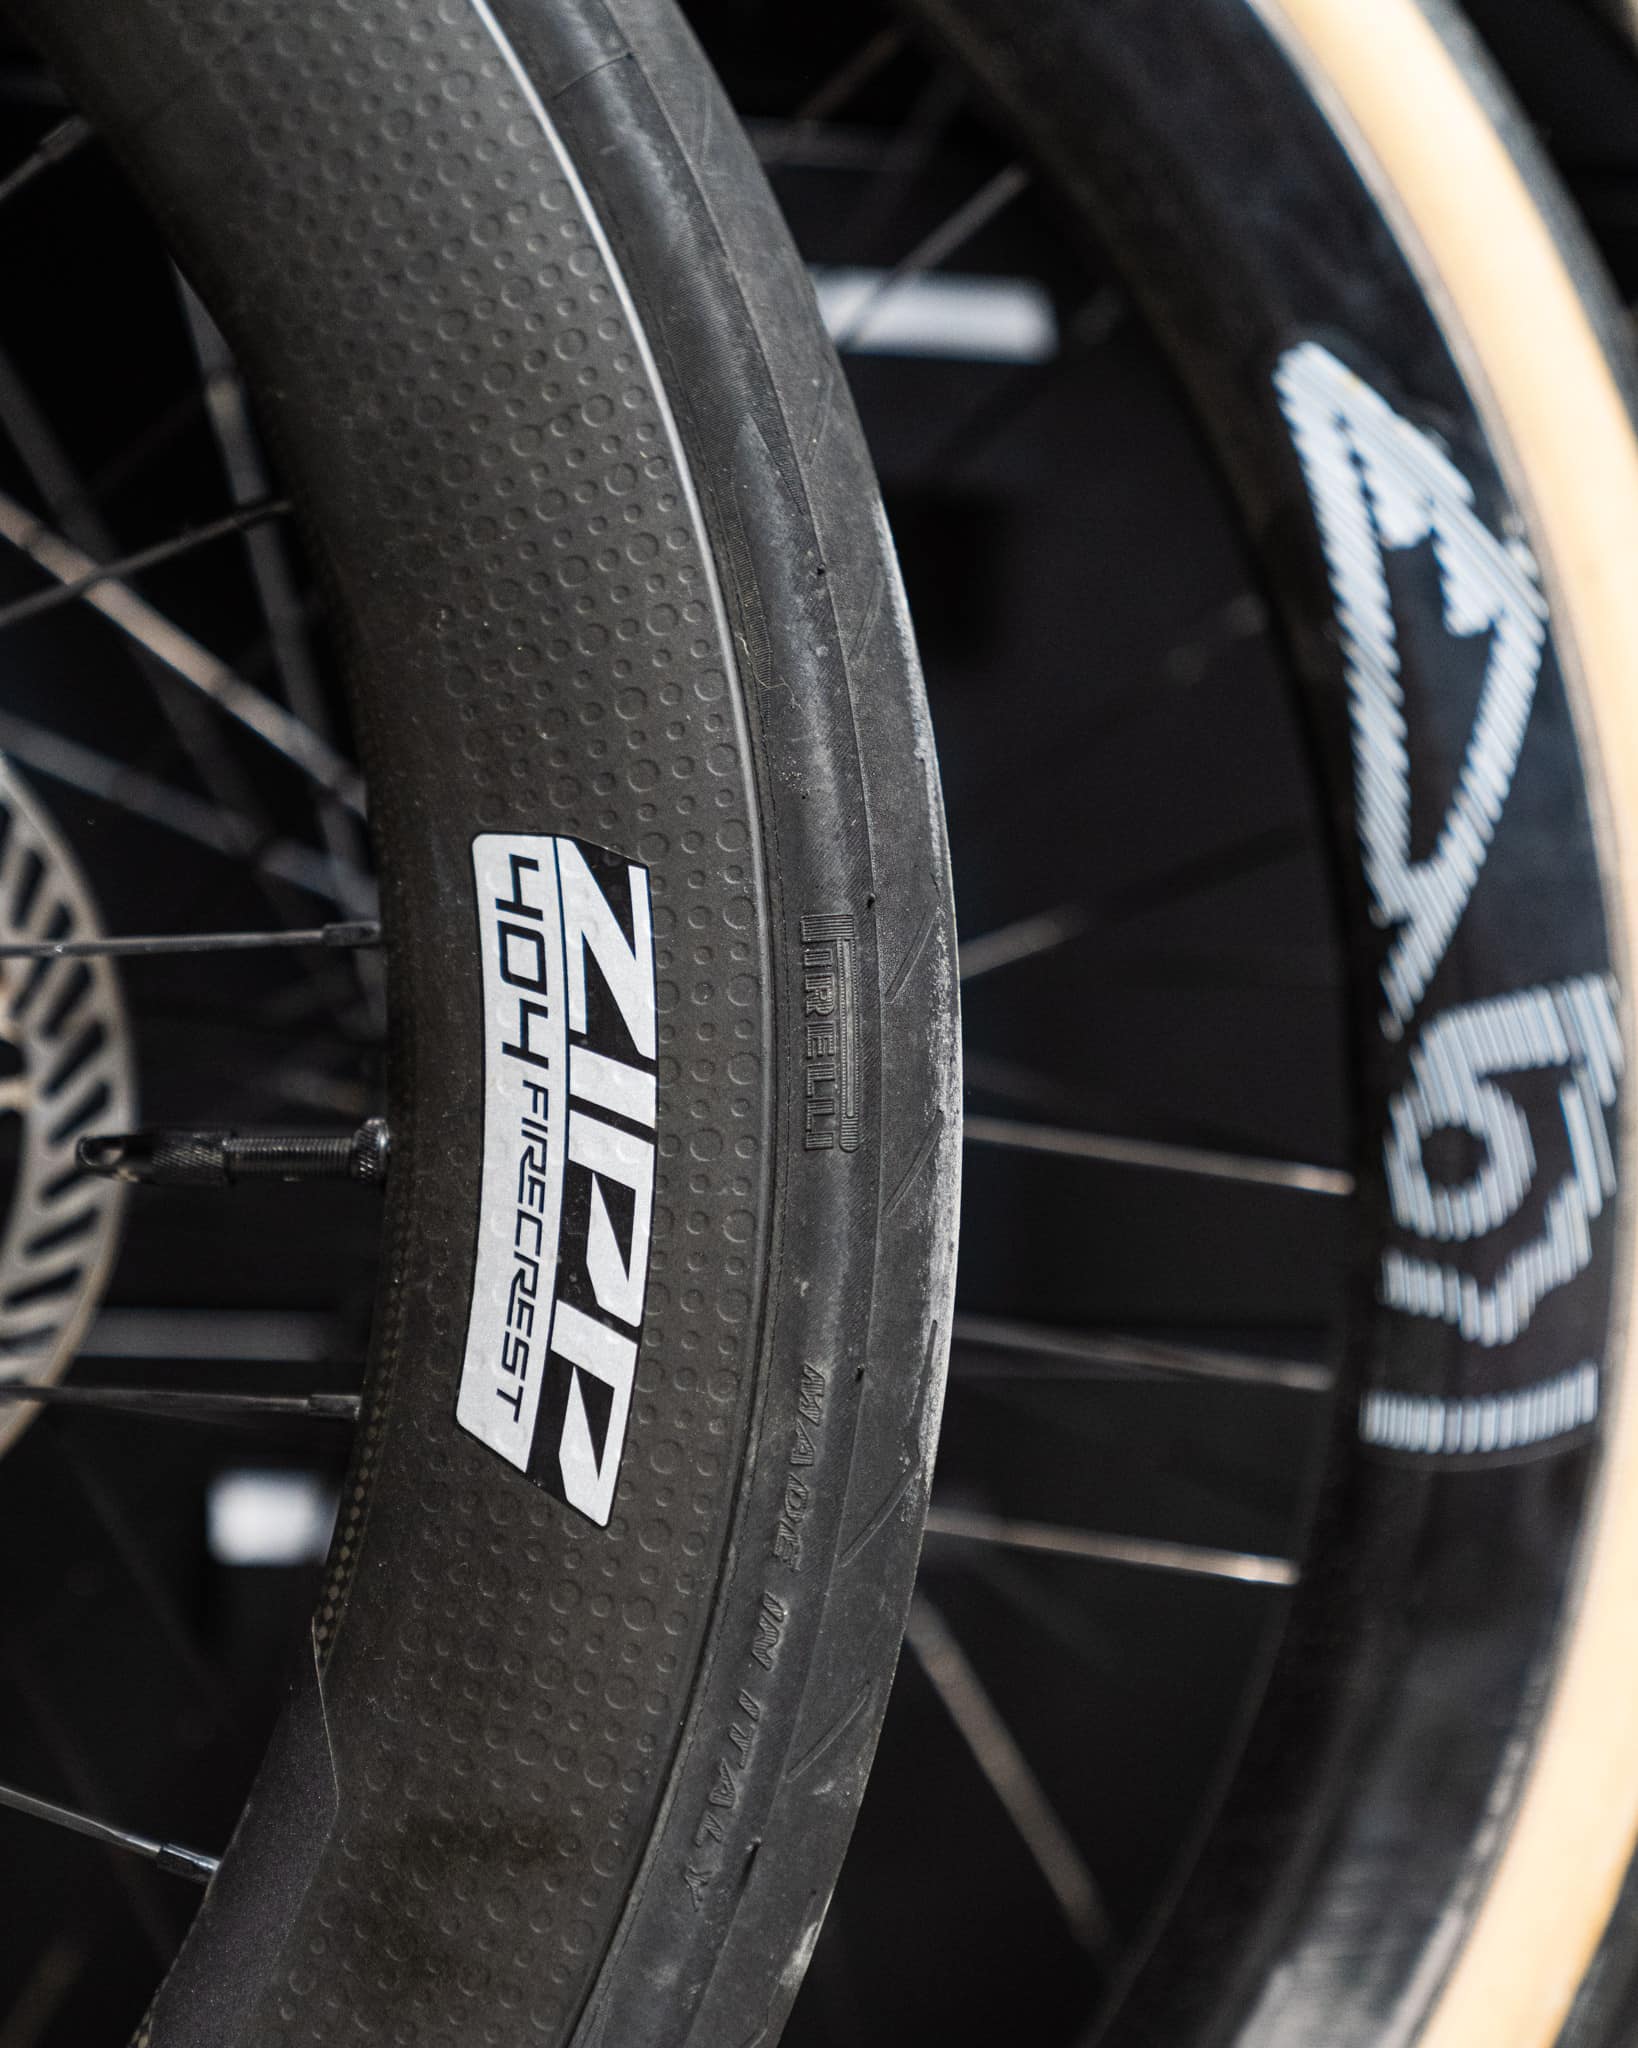
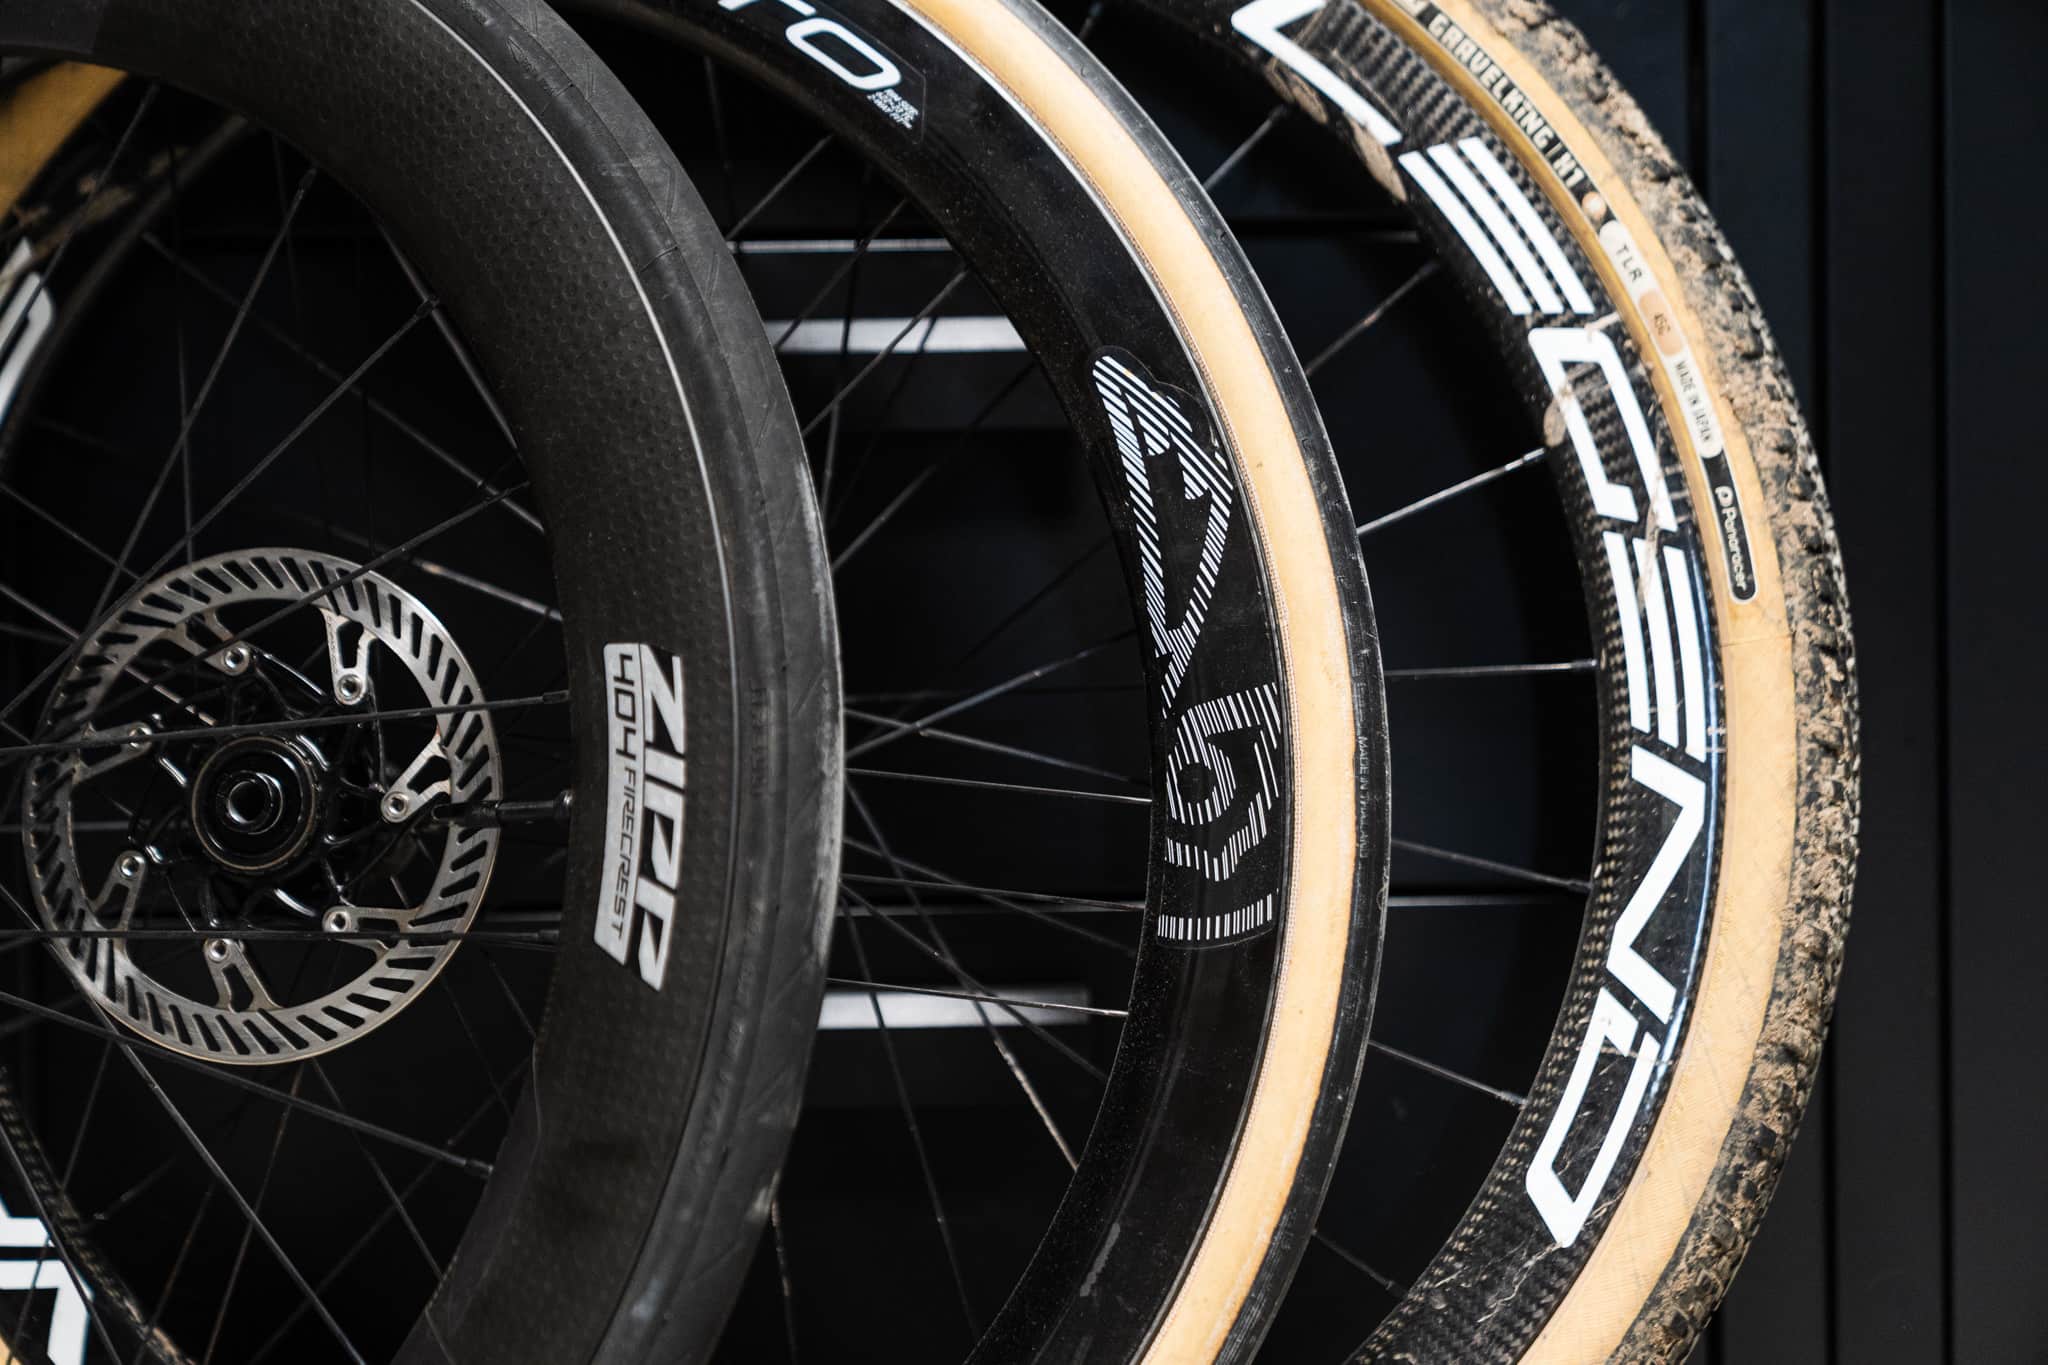
The wheelset. Replacing the entire wheel, rims, spokes, and hubs, is the largest single change you can make. A modern carbon or alloy wheelset can be lighter, stiffer, and more aerodynamic than stock. Most factory bikes ship with wheels chosen to hit a price point, not to perform, so the ceiling is genuinely high. It is also, by a wide margin, the most expensive path.
The tires. Tires are the contact patch between you and the road, and rolling resistance at the tire dwarfs almost every other mechanical loss. Switching from a heavy stock tire to a supple, fast-rolling tire at the correct pressure is the cheapest way to feel a real difference. If your tires are old, start here, full stop.
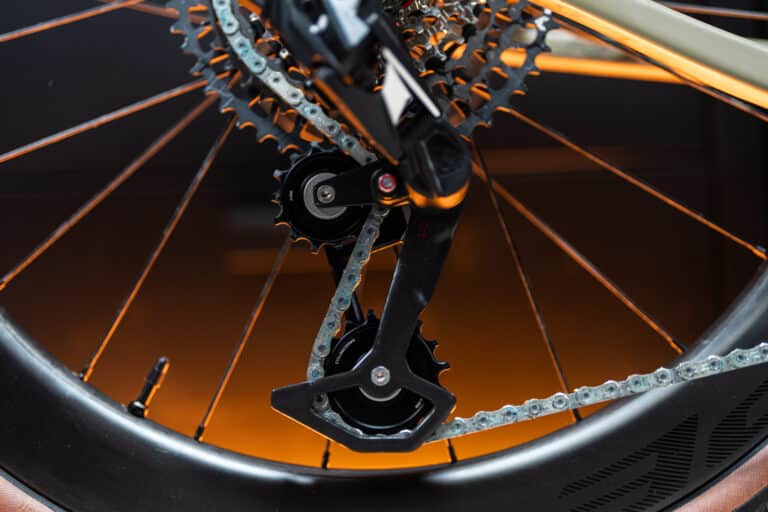
The hubs. The hub houses the bearings and the freehub mechanism. A better hub shell improves engagement and stiffness, but you rarely upgrade a hub in isolation; it usually comes bundled inside a wheelset purchase.
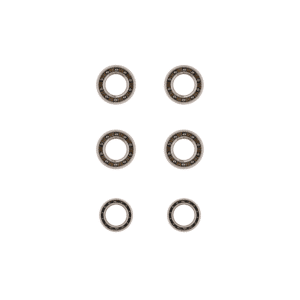
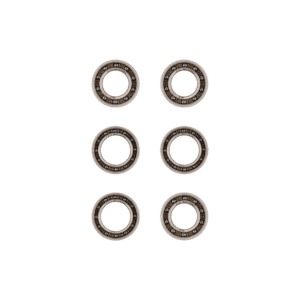
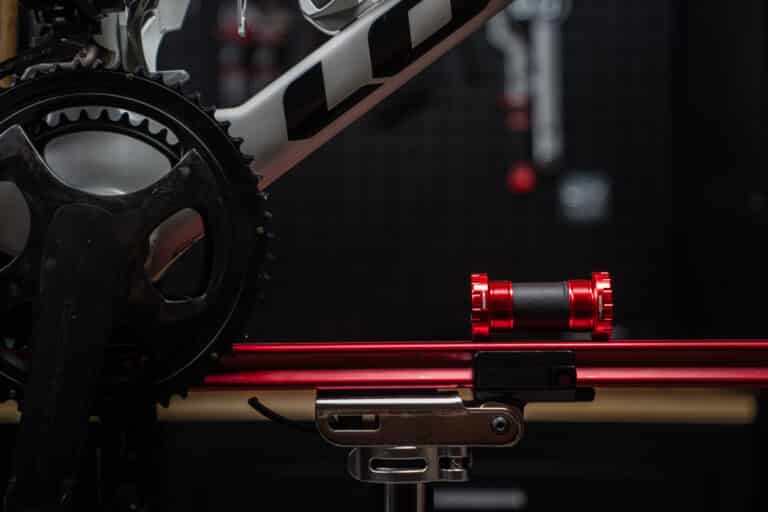
The bearings. Inside every hub sit the bearings that let the wheel spin. They are the smallest, cheapest component in the system, and the one buying guides ignore. Yet they are the only part of the wheel you can meaningfully upgrade without buying a new wheel, and on a tired wheelset they are often the difference between a wheel that coasts and one that drags.
Value Per Euro: What Each Upgrade Actually Returns
The honest way to rank upgrades is not “what is fastest” but “what gain do I get per euro spent, given the state of my current wheels.” Here is how the four paths compare.
| Upgrade | Relative cost | Main gain | Best when |
|---|---|---|---|
| New wheelset | Highest | Weight, stiffness, aero in one purchase | Current wheels are dated, heavy, or damaged |
| Tires | Lowest | Lower rolling resistance, grip, comfort | Tires are old, heavy, or wrong width |
| Hub upgrade | High | Engagement, stiffness | Usually only as part of a wheelset |
| Wheel bearing kit | Low to moderate | Lower bearing drag, smoother spin, longevity | You like your wheels but want them more efficient |
The pattern is straightforward. If your tires are tired, fix the tires; nothing returns more per euro. If your wheelset is genuinely old or damaged, a new wheelset is the biggest leap, and there is no cheaper way to buy weight and aerodynamics at once. But for the large group of riders in between, those who own a wheelset they like and simply want it to roll better, replacing the entire wheel to chase efficiency is an expensive way to fix a problem that lives in the bearings.
This is the gap most wheel buying guides leave open. They jump from “your stock wheels are slow” straight to “buy a new wheelset,” skipping the cheapest efficiency upgrade entirely, because a bearing kit is not as profitable to sell as a wheelset.
The Overlooked Path: Upgrading the Bearings You Already Own
A wheel bearing does one job: it lets the wheel spin around a fixed axle with as little friction as possible. Its quality decides how much of your effort is lost to drag and how long the wheel stays smooth before it needs service.
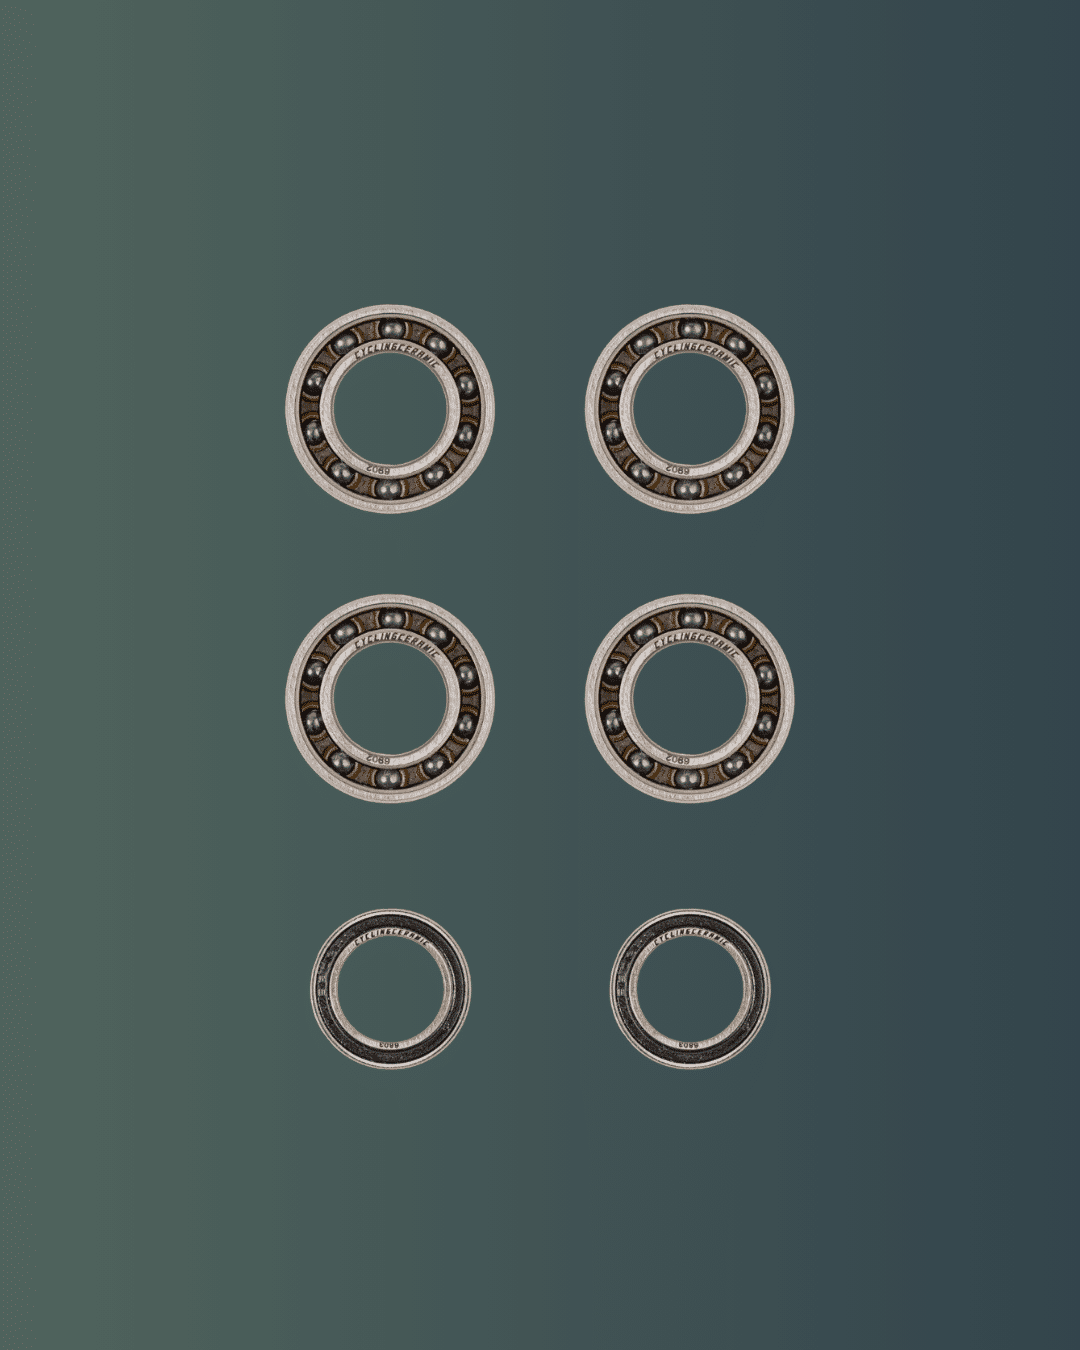
Stock wheels almost always ship with standard steel bearings sized to a price point. They work, but they are not optimized for low friction, and they degrade as water and grit reach the seals. The upgrade path is a hybrid ceramic bearing: silicon nitride balls running in hardened steel races. The balls are harder than steel, dimensionally stable, and corrosion immune, which is why a well-made ceramic bearing rolls with less friction and lasts longer under road and gravel conditions.
The gain is measurable, not marketing. In 2016, CyclingCeramic submitted its wheel bearings to the independent Friction Facts laboratory, the most respected bearing tester in cycling before its acquisition by CeramicSpeed, on the same rig used to benchmark every major bearing on the market.
| Wheel bearing | Friction (drag) | Reduction |
|---|---|---|
| DT Swiss 350 original equipment | 5.5W | Baseline |
| CyclingCeramic wheel bearings | 2.6W | 53% vs OE |
A 53% reduction in bearing drag, delivered without buying a new wheel. That is the entire argument for the bearing path: you keep the rim, the spokes, and the hub you already trust, and you change the one component that actually controls how freely the wheel spins.
Road and Gravel: Same Bearings, Different Maintenance
Riders often ask whether gravel wheels need different bearings from road wheels. The answer is no. CyclingCeramic uses the same bearings for road and gravel; only the grease differs, formulated for the conditions each discipline sees. There is no compromise on performance or durability, just a lubricant matched to how wet and gritty the riding gets.
Where road and gravel genuinely diverge is service interval. Gravel exposes the seals to far more water and grit, so bearings wear faster.
| Discipline | Recommended service interval | Why |
|---|---|---|
| Road | ~5,000 km | Cleaner conditions, slower seal wear |
| Gravel / off-road | ~3,000 km | Grit and water reach the seals more often |
Shorten the interval further if the bike has been ridden through deep water or mud. Among gravel riders, the hubs most often brought in for bearing kits are Zipp, DT Swiss, and Mavic, so kits matched to those standards are the most common request, though the same logic applies to any hub.
How do you know when a bearing is worn? Three signs show up in the workshop again and again:
- Lateral play. Hold the wheel in the frame and rock the rim side to side. Any knock or movement at the hub means the bearings have developed play.
- Increased rolling resistance. Spin the wheel and watch how long it coasts. A bearing past its life will slow the wheel noticeably and feel less free.
- A light noise. A faint grinding, rumbling, or roughness as the wheel turns is grit inside the bearing. It will only get worse.
Any one of these is the cue to service or replace. Catching it early protects the hub shell from damage and keeps the bearing path the cheap upgrade it is meant to be.
How CyclingCeramic Fits In
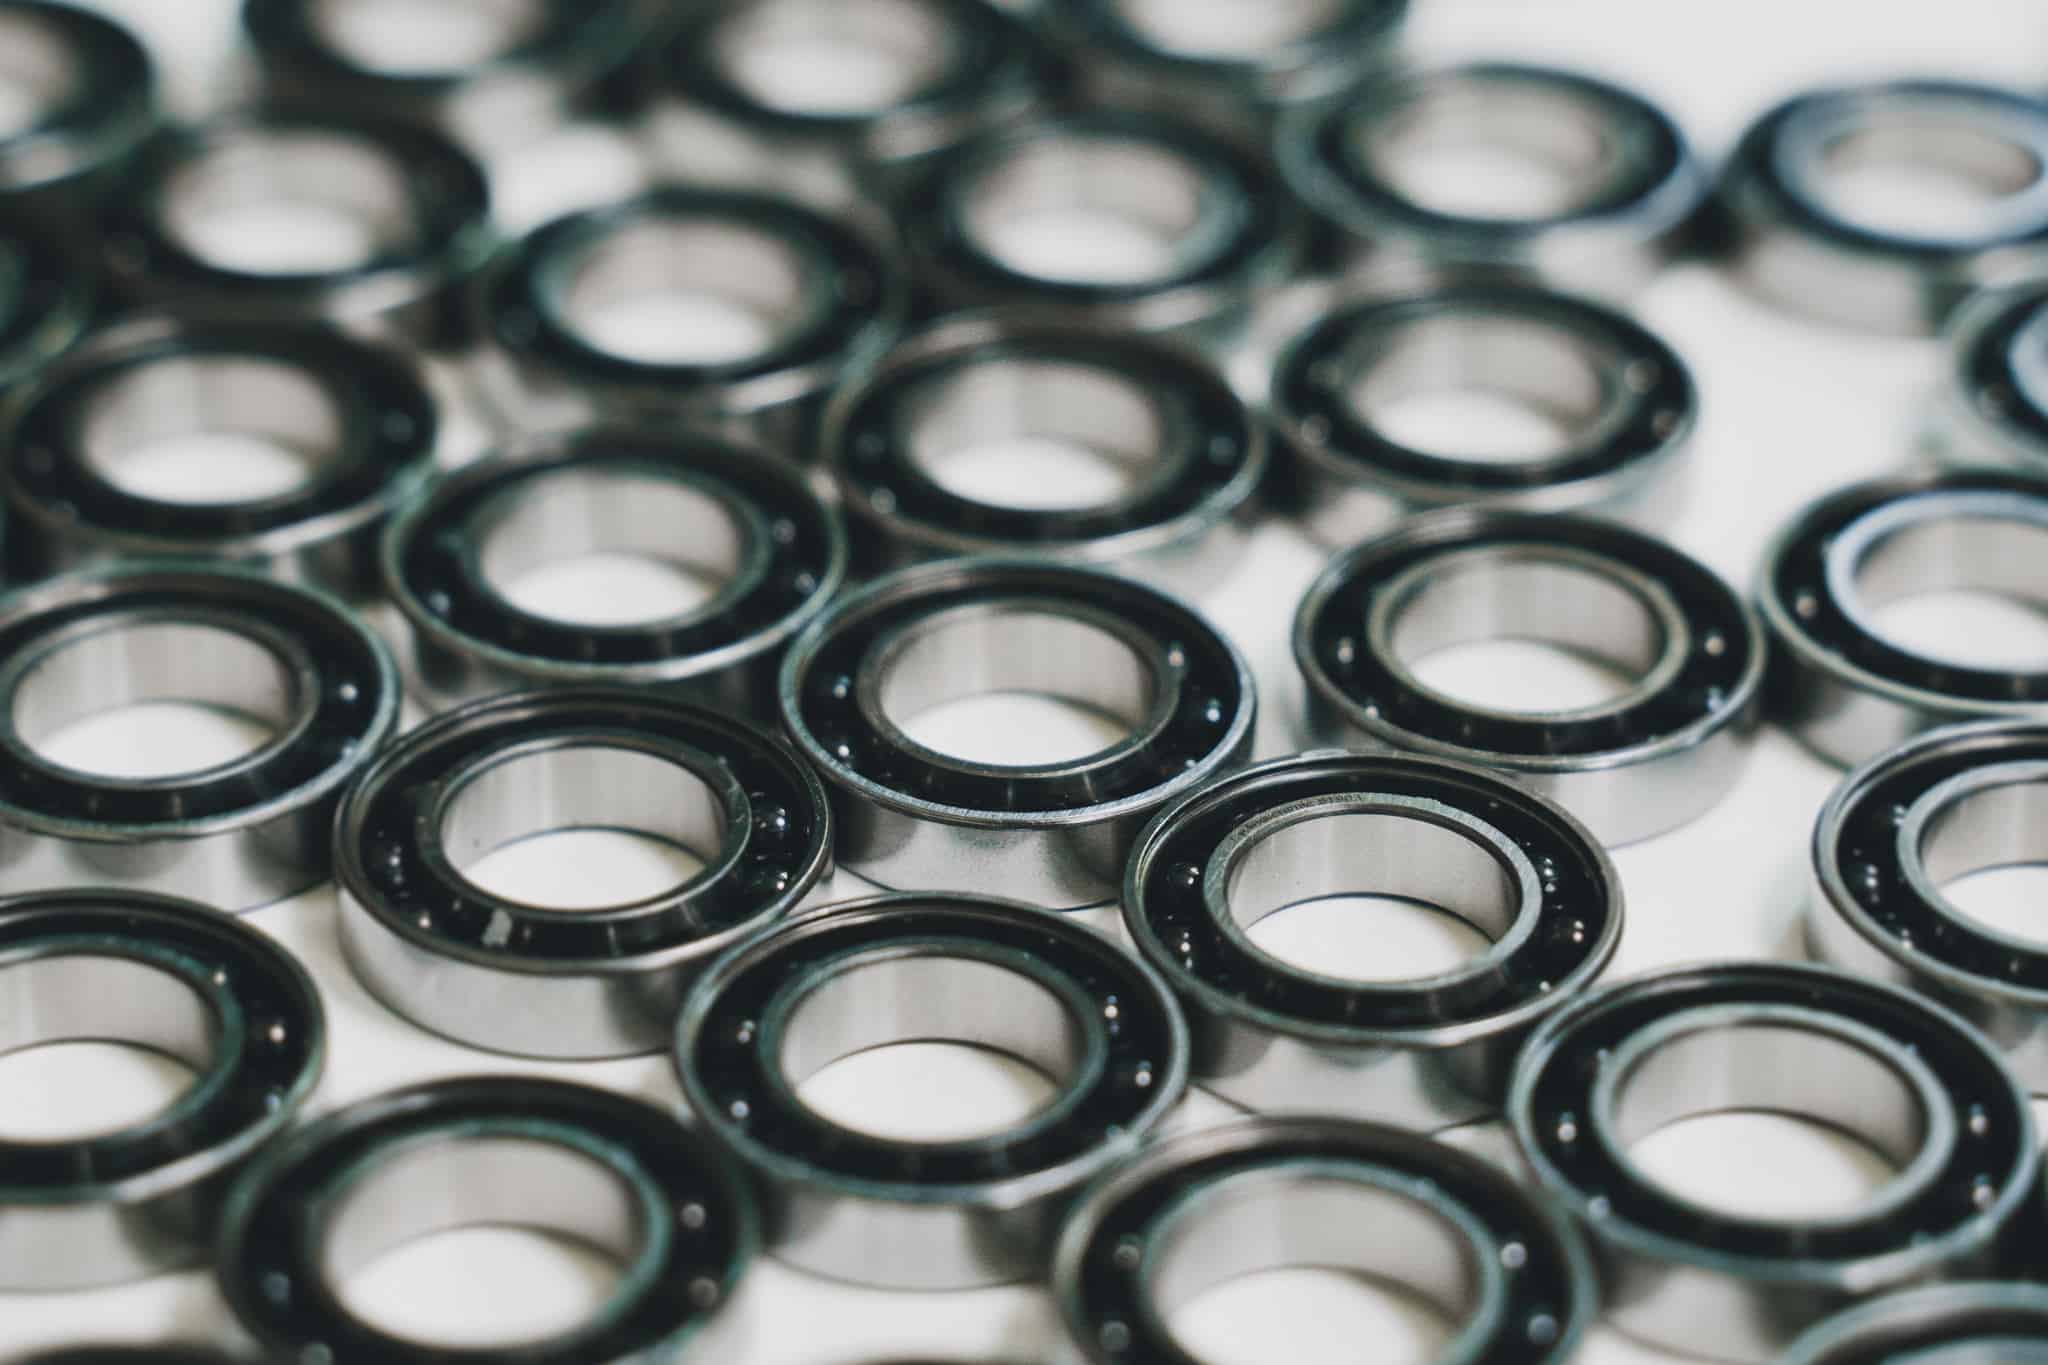
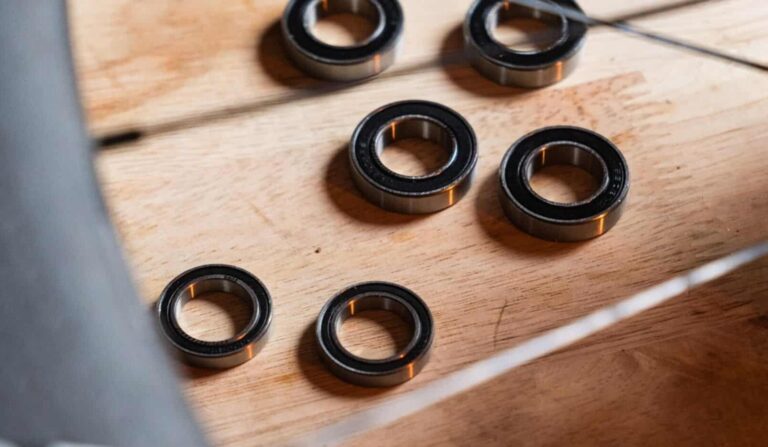
CyclingCeramic makes the wheel bearing kits at the centre of this upgrade path, handmade in France and run at WorldTour level by the Cofidis team. For a wheel, the only part that matters is the bearing inside the hub: CyclingCeramic fits Grade 3 silicon nitride (Si3N4) balls in hardened races, the pairing that actually rolls with less friction and shrugs off water and grit. A coarse-ball budget bearing can look identical on a listing yet drag more and fail sooner, which is the gap the lab number above measures.
For the wheel, the relevant product is the wheel bearing kit. A kit typically includes the bearings matched to your specific hub standard so the upgrade drops into the wheels you already ride. Because the same bearings serve road and gravel with only a grease change, one kit logic covers both disciplines.
Installation difficulty depends entirely on your hub. Some accept bearings with simple tools and are well within reach of a confident home mechanic. Others are a press fit that needs a bearing press or an extractor to seat the bearings without marking the hub shell. The safe rule: identify your hub brand and bearing standard first, and if you are not certain it is a tool-free job, have a bike shop do it. A damaged hub shell costs far more than a workshop fitting.
Two things back the upgrade beyond the lab number. Every CyclingCeramic component carries a 4-year warranty, well above the 1-to-2-year norm for stock bearings, and the friction figures come from documented independent testing rather than in-house marketing claims. If you want bearings as a service part rather than a full kit, individual bearings are available to match common hub sizes.
Spending in the Right Order
Put the four paths in sequence and the decision becomes simple. Work down this list and stop where your budget and your goals meet.
1. Fix the tires first. If your tires are old, heavy, or the wrong width, no other wheel upgrade returns more per euro. Get this right before spending anywhere else.
2. Service or upgrade the bearings. If you like your wheels but they feel like they drag, or the wheel no longer coasts the way it used to, a wheel bearing kit is the cheapest way to make the wheels you own roll efficiently again. This is the value-per-euro sweet spot and the step most guides skip.
3. Buy a new wheelset only when the wheel itself is the limit. If your wheelset is genuinely dated, heavy, or damaged, a new wheelset is the largest single leap and the only way to buy weight and aerodynamics together. It is also the most expensive, so it belongs at the end of the list, not the start.
Most riders default to step 3 because it is the upgrade the industry markets hardest. Reversing that instinct, tires and bearings before a new wheelset, is how you get the most speed for the least spend.
Frequently Asked Questions
What is the best bicycle wheel upgrade for the money?
It depends on the state of your current wheels. If your tires are old or heavy, new tires are the cheapest meaningful gain. If your wheelset is dated and heavy, a new wheelset is the largest single improvement but also the most expensive. Between those two extremes sits the most overlooked option: upgrading the hub bearings inside the wheels you already own. Independent Friction Facts data measured CyclingCeramic wheel bearings at 2.6W versus 5.5W for a standard DT Swiss 350 reference, a 53% reduction in bearing drag, without buying a new wheelset. For most riders chasing efficiency on a budget, the bearing upgrade is the highest value-per-euro option because it improves the wheels you already trust.
Do I need a new wheelset to make my bike faster?
No. A new wheelset delivers the biggest single improvement because it changes weight, stiffness, and aerodynamics at once, but it is also the most expensive path and is often unnecessary. Tire choice, correct tire pressure, and the condition of the hub bearings all influence how fast and how efficiently a wheel rolls. Riders who already own a solid wheelset frequently gain more, per euro, by fitting better tires and upgrading the hub bearings than by replacing the whole wheel.
How many watts do upgraded wheel bearings save?
Independent Friction Facts testing measured CyclingCeramic wheel bearings at 2.6W of drag versus 5.5W for a standard DT Swiss 350 original-equipment bearing, a 53% reduction. On their own, hub bearings are a small share of total resistance, but they stack with the bottom bracket and pulley wheels. A complete CyclingCeramic drivetrain and wheel setup measured approximately 10W saved versus a standard steel setup, the equivalent of removing more than 3 kg from the bike in performance terms, since 3W is roughly equivalent to 1 kg.
Can I install wheel bearings myself or do I need a workshop?
It depends on the hub. Some hubs use bearings that slide in and out by hand or with simple tools, making them straightforward for a competent home mechanic. Others require a bearing press or an extractor to remove and seat the bearings without damaging the hub shell. If you are unsure which standard your hub uses, or if the bearings are a press fit, a bike shop is the safer choice. Identify your hub brand and bearing standard first; Zipp, DT Swiss, and Mavic are among the most common hubs riders bring in for bearing kits.
How often should wheel bearings be serviced or replaced?
As a general guide, plan a service interval around every 5,000 km on the road and every 3,000 km for gravel, and sooner if the bike has been ridden through deep water or mud. Gravel shortens bearing life because grit and water reach the seals more often. Watch for three wear signs: lateral play when you rock the wheel side to side, increased rolling resistance or a wheel that no longer spins freely, and a light grinding or rumbling noise. Any of these means it is time to service or replace the bearings.
Conclusion
“Wheel upgrade” is broader than the carbon wheelset every shop wants to sell you. The wheel is a system of four upgradeable parts, and the smart money spends on them in order of value per euro, not in order of price tag. Tires first when they are tired. Bearings next when the wheels you own simply need to roll better. A new wheelset last, when the wheel itself has become the limit.
The bearing path is the one the buying guides skip, and it is the one with the clearest data behind it: independent Friction Facts testing measured a 53% reduction in bearing drag, 2.6W against 5.5W, achieved without buying a single new wheel. For the large group of riders who like their wheels and just want more efficiency, that is the highest-return, most accessible upgrade available.
If that describes you, start with a wheel bearing kit matched to your hub, or pick up individual bearings as a service part. Same bearings for road and gravel, only the grease changes, backed by a 4-year warranty and lab numbers you can verify yourself.
Products mentioned in this article